OAuth 2.0 authorization Flow
Authenticate and generate an API access token for your apps
OAuth Token API You can use OAuth 2.0 to authenticate all your application's API requests to inTandem platform. OAuth provides a secure way for your application to access our data on behalf of the authorized business.
Prerequisites
Use OAuth 2.0 authentication to authenticate your app on inTandem platform with your users. If you don't have an app within our platform, you can create one following the instructions in this guide.
Make sure your app manifest includes the url_params brand_host option. This way, when inTandem redirects users to the app's page, it includes the host domain as part of the redirect URL.
Step 1: Get your app's 'client id' and 'client secret' ready
Upon creating your app on inTandem platform, you received a client id and secret id in the API response. Ensure you have those ready, as they'll be required in the following steps.
Step 2: Redirecting Users to the app
When a user clicks on 'Open app' in the app info page in the App Market, inTandem redirects the user to the app and adds parameters to the redirect URL:
- brand_host: The domain of the partner site the user came from (app.vcita.com)
- business_uid: The unique identifier of the user's business
- staff_uid: The unique identifier of the user
Step 3: Redirect users to the Authorization URL
Your application should check if this user has been authenticated (typically by looking for a cookie in the browser). If the user has not been authenticated, they should be redirected to the Authorization URL:
https://$HOST_DOMAIN/app/oauth/authorize?client_id=$CLIENT_ID&redirect_uri=$REDIRECT_URI&state=$STATE
- HOST_DOMAIN is the host that opened your app (brand_host from step 2)
- CLIENT_ID - use the unique identifier you received when you registered your application with inTandem (step 1)
- REDIRECT_URI - is where you want the authorization page to redirect to (https://yourdomain.com/path).
- STATE is an arbitrary string that will be appended to the callback URL after the Authorization step is complete
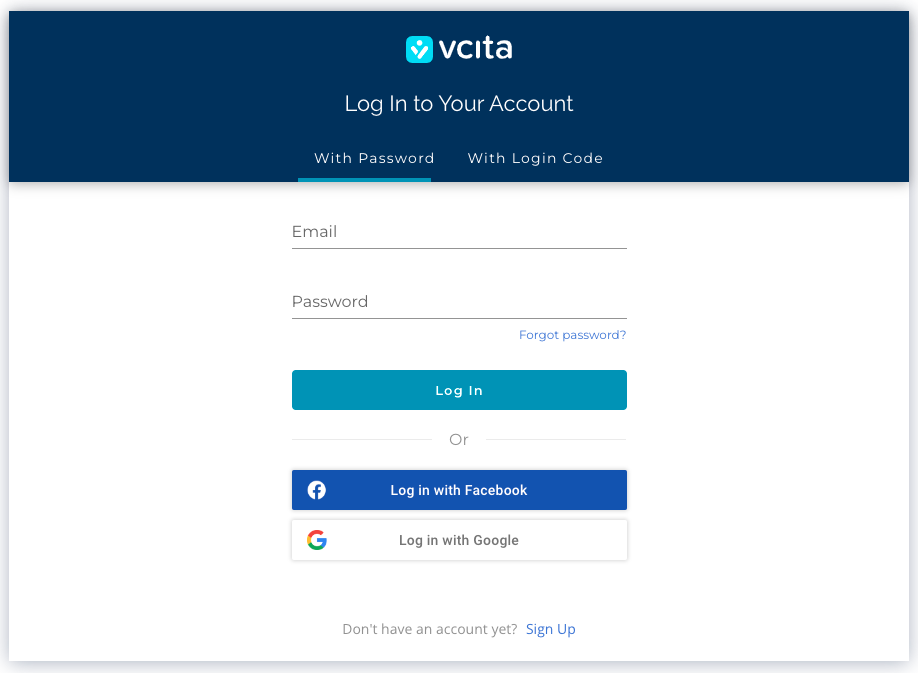
If the user is not logged in, they will be prompted to log in first. Example of vcita default login page:

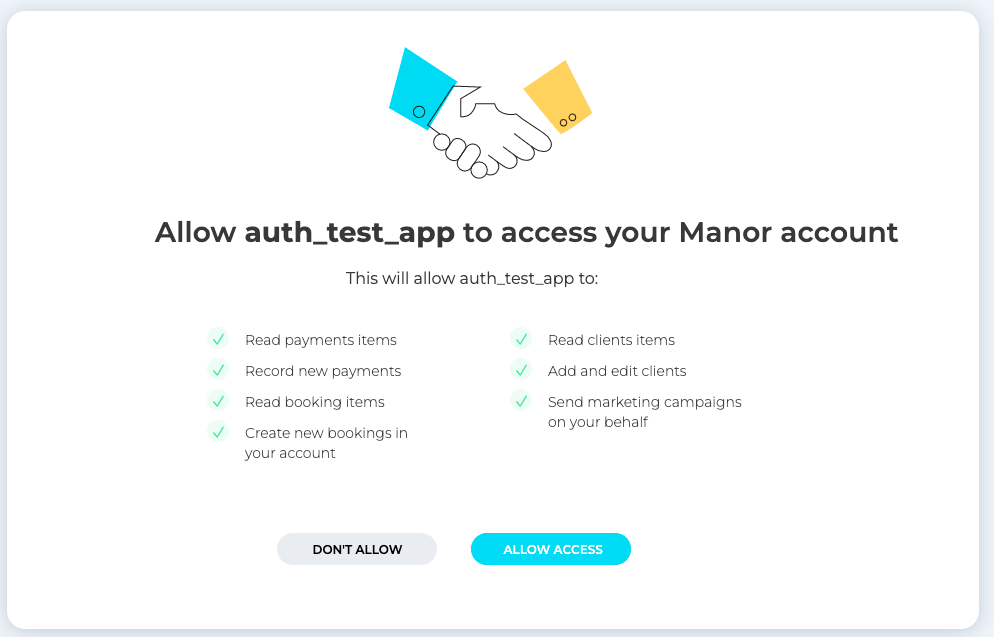
After login, the user will be prompted with a permission grant dialog, requiring approval to continue the OAuth flow.
Please consult with our support team for the appropriate setup.

Once the user authorizes the app, the user will then be redirected to the configured app redirect_uri, with additional parameters sent in the URL. The redirect URL will show as follows:
$REDIRECT_URI?code=$CODE&state=$STATE
REDIRECT_URI - The URL you sent in step 3
STATE - is the value passed via the authorization URL
code
The code value is a temporary Authorization Code that can be exchanged for an Access Token.
Note: the code will remain valid for only 30 seconds!
Step 4: Exchange Code for Access Token
To get the access token, you need to send a POST request (from your back-end server) to the following endpoint:
https://api.vcita.biz/oauth/token
Payload:
- grant_type - should be 'authorization_code'
- code - use the authorization code you received in the response after the user granted access
- client_id - use the unique identifier you received when you registered your application with inTandem (step 1)
- client_secret - use the Secret value you received when you registered your application with inTandem (step 1)
- redirect_uri - the same redirect URL as in step 4. For ID purposes only.
curl https://api.vcita.biz/oauth/token \
  -H "Content-Type: application/json" \
  -d '{"grant_type": "authorization_code", "code": "{your_code}",
    "client_id": "{your_client_id}", "client_secret": "{your_client_secret}",
    "redirect_uri": "{your_redirect_url}" }' \
  -X POST
The response will include the access token that you can later use as an authorization token in API requests to get required information about the business or perform actions on behalf of the authenticated business. Typically, app developers store access tokens for further use:
{
"access_token": "74639aa91e5726dc4d90ca82621aeebe028923bde08e1715cf8809178c7f144b",
"token_type": "bearer",
"expires_in": 631152000,
"created_at": 1565876581,
}
Check the OAuth Token APIreference for more information
The code token is valid for 30 seconds only.
Step 5: Use the access token in API calls
With the access token, your app can make API calls on behalf of the authorized business by including the token in an HTTP Authorization header.
\'Authorization: Bearer {{access_token}}'
Here is an example of using the access token. In this case, we request for the business' user info:
curl --request GET \
     --url https://api.vcita.biz/oauth/userinfo \
     --header 'Accept: application/json'
     --header 'Authorization: Bearer {{access_token}}' \
Save this token, and the staff, and business uids for future use.
Updated about 1 month ago
