Custom login options
While our default login page covers most use cases for users' login, we understand that partners may want to have their own login page or have the default login page customized to their needs.
Therefore, we offer several options for customizing your login page.
Important
As each integration and partner have their own specific requirements, we recommend contacting us for additional guidance when configuring your custom login page and we will be happy to assist with the process.
For more information, please contact your dedicated success manager.
Option 1: Customize the default login page
This is the simplest approach for customizing your login page.
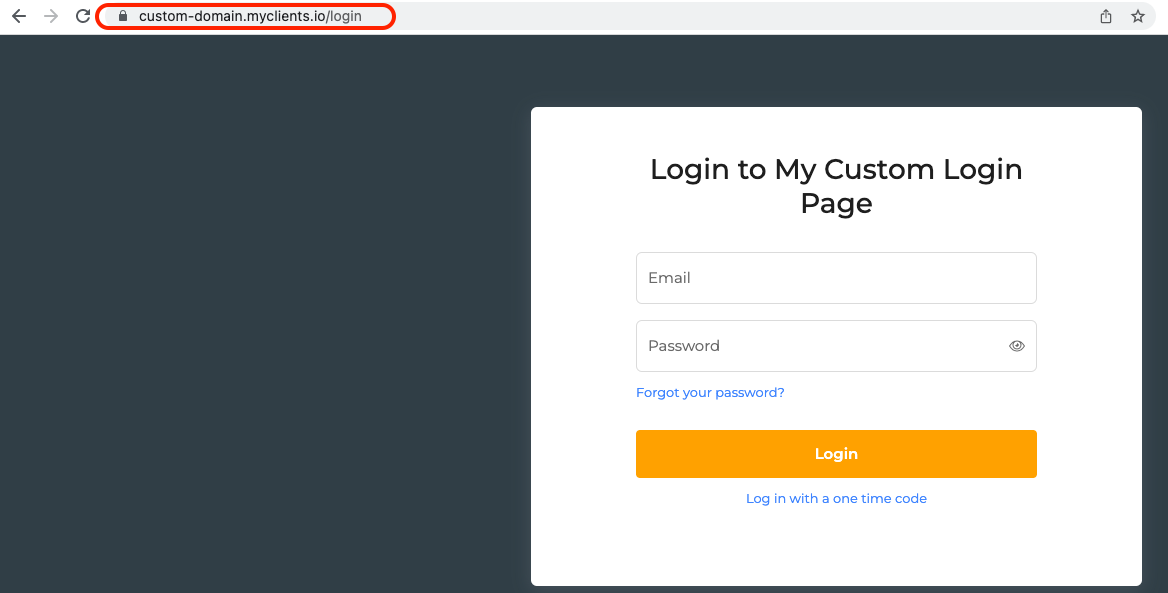
With this method you'll use the default login page configured with your custom domain and brand colors.
What is required?
- Purchase a domain for your custom login page (or create a dedicated new sub-domain if you already have a domain)
- Send us the domain name
- We will grant you a dedicated URL that you'll need to add as a CNAME record with your hosting service provider
- That's it! We will take care of the rest and make sure to set the login page with your domain and brand colors. (If you don't have brand colors configured on your directory we can do that as well at the same time)
For further assistance, please contact your dedicated success manager.

Option 2: Using custom login page
We understand that on some occasions you may prefer having your own login page rather than using the default one.
This can be helpful if your company has multiple services and products living under one website, and you want to have a global login page to your website and manage the login to each one of the products separately.
It may also be the case that you need users to enter additional information upon login apart from email and password, and need to build your own custom login page to support these additional parameters.
Use SSO to accomplish these goals!
How will it work?
Using your custom login page means that you should also manage user identities on your end. In other words - you should maintain a database and a mapping of all users, so you can tell based on your user id - which business id the user is associated with, and what's the user id on our end. These are required for the SSO flow.
Later in this guide under Keeping track of user/staff events see how to get the business ID and staff ID of each user, and to get notified when a new user is created or deleted on our end, so you can update your DB accordingly.
Using our SSO capabilities described in this guide you can log users into our system by only using their staff id and corresponding business id.
The flow is usually as follows:
- The user logs in via the partner's custom login page.
- Depending on your business model, users may need to be redirected to an existing system from which they can later log in to our system (among other products you may be offering), or maybe redirected instantly to our dashboard following the login.
- Either way, when the user logs in, you need to be able to have a mapping of this user, and know its corresponding staff id and business id on our end. staff id and business id are necessary for the SSO process.
- When you want to log the user into our dashboard you'll need to follow the SSO process explained here.
- The SSO is seamless and occurs without the user needing to enter any info. In fact, the users don't even know they're being redirected between systems, as it all happens programmatically.
Keeping track of user/staff events
To keep track of when new users are created or deleted and get the relevant user information among these events, you may want to subscribe to the ״staff webhook״, to get notified upon each staff-related event.
These webhooks will send the user (staff) info to your designated endpoint, containing all the information related to the staff, including its id and corresponding business id.
For additional info regarding the staff webhook, see the API reference.
Updated 30 days ago
